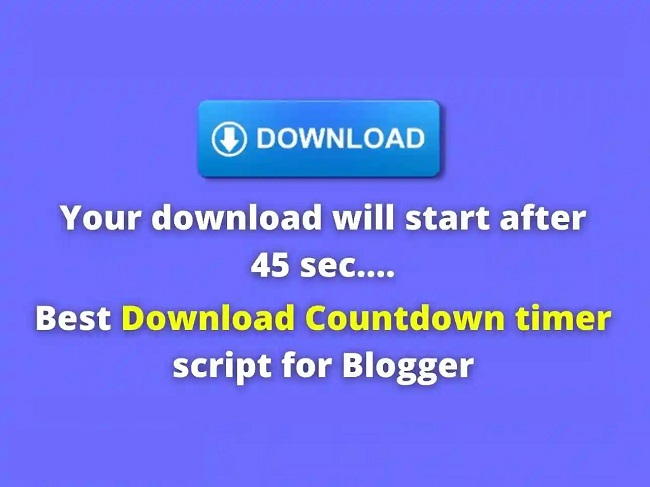
This tutorial will show you how to put a download timer button on your blog.
How to Add Download Timer Buton in Blogger?
If you want to download the timer button then you have to follow some of these 6 steps.
Step1) First of all, Go to The Blogger.com Dashboard
Step2) Now you have to go to the Theme section in the blogger.
Step3) In Theme Section Go to Customize and then select Edit HTML
Step4) Now Search ]]> tag via Ctrl + F & Paste this css code before the ]]> tag
.modal {
            display: none;
            position: fixed;
            top: 0;
            right: 0;
            bottom: 0;
            left: 0;
            text-align: left;
            background: rgba(0, 0, 0, .9);
            transition: opacity .25s ease;
            z-index: 999;
        }
        btn-at {
            cursor: pointer;
        }
        .at-pop__bg {
            position: absolute;
            top: 0;
            right: 0;
            bottom: 0;
            left: 0;
            cursor: pointer;
        }
        .at-pop {
            display: none;
        }
        .at-pop__inner {
            transition: top .25s ease;
            position: absolute;
            top: -20%;
            right: 0;
            bottom: 0;
            left: 0;
            width: 50%;
            margin: auto;
            overflow: auto;
            background: #fff;
            border-radius: 5px;
            padding: 1em 2em;
            height: 50%;
        }
        .at-pop__close {
            position: absolute;
            right: 1em;
            top: 1em;
            width: 1.1em;
            height: 1.1em;
            cursor: pointer;
        }
        .at-pop__close:after,
        .at-pop__close:before {
            position: absolute;
            width: 2px;
            height: 1.5em;
            background: #333;
            display: block;
            transform: rotate(45deg);
            left: 50%;
            margin: -3px 0 0 -1px;
            top: 0;
        }
        .at-pop__close:hover:after,
        .at-pop__close:hover:before {
            background: #aaa;
        }
        .at-pop__close:before {
            transform: rotate(-45deg);
        }
        @media screen and (max-width: 768px) {
            .at-pop__inner {
                width: 90%;
                box-sizing: border-box;
            }
        }
        .adpop-top {
            height: 40px;
            width: 100%;
            border-bottom: 1px #E5E5E5 solid;
        }
        .adhtml {
            margin: 14px 0 4px;
            min-height: 260px;
        }
        .adpop-content {
            height: 330px;
        }
        #at-downloadx {
            display: inline-block;
            height: 30px;
            line-height: 30px;
            width: 140px;
            text-align: center;
            background-color: lightskyblue;
            color: #fff;
            padding: 5px;
            font-size: 19px;
            border-radius: 8px;
            text-transform: capitalize;
            text-decoration: none;
            border: 1px solid #212121 !important;
            margin-top: 1px;
        }
        .download-pop {
            line-height: 16px;
            margin: 15px;
            font-size: 19px;
            text-align: center;
            position: relative;
        }
        .btn-at {
            display: block;
            height: 50px;
            color: #fff;
            font-size: 24px;
            text-transform: uppercase;
            background: #f3a;
            text-align: center;
            line-height: 50px;
            width: 200px;
            margin: auto;
            transition: all 0.4s ease-in;
            cursor: pointer;
        }
        .adpop-top h2 {
            margin: 0
        }
Step5) Now Search </body> tag via Ctrl + F & Paste this JAVASCRIPT code before the ]]></b:skin> tag
<script>
        //<![CDATA[
        const modal = document.querySelector("#my-modal");
        const btn = document.querySelectorAll(".btn-at");
        const closeModal = document.getElementsByClassName("at-btnclose")[0];
        for (let i = 0; i < btn.length; i++) {
            btn[i].addEventListener("click", function() {
                modal.style.display = "block";
            });
        }
        btn.onclick = function() {
            modal.style.display = "block";
        };
        closeModal.onclick = function() {
            modal.style.display = "none";
        };
        window.onclick = function(event) {
            if (event.target == modal) {
                modal.style.display = "none";
            }
        };
        var downloadButton = document.getElementById("at-downloadx");
        var counter = 30;
        var newElement = document.createElement("span");
        newElement.innerHTML = "Please Wait 30 sec";
        newElement.style.font = '16px';
        var id;
        downloadButton.parentNode.replaceChild(newElement, downloadButton);
        function startDownload() {
            this.style.display = 'none';
            id = setInterval(function() {
                counter--;
                if (counter < 0) {
                    newElement.parentNode.replaceChild(downloadButton, newElement);
                    clearInterval(id);
                } else {
                    newElement.innerHTML = "Please Wait" + " " + counter.toString() + " " + " sec.... ";
                }
            }, 1000);
        };
        var clickbtn = document.getElementById("btn-at");
        clickbtn.onclick = startDownload;

        //]]>
</script>
Step6) Now Create a New Posts and in that go to Edit View & Paste the HTML Code where you have to show your Download Timer button on the website.
<div class="btn-at" id="btn-at">Download</div>
    <div class="modal" id='my-modal'>
        <div class="at-pop__bg"></div>
        <div class="at-pop__inner">
            <div class="adpop-top">
                <label class="at-pop__close at-btnclose"><i class="fa fa-close" style="font-size:20px;"></i></label>
                <h2 style="margin: 0px;">Download Your file</h2>
            </div>
            <div class="download-pop">
                <a class="button" download href="https://drive.google.com/file/d/1KjJTnv2_N9yVdYLJ3Hp1pVzK7Agfdvr6/view?usp=sharing" id="at-downloadx">Download File</a>
            </div>
            <div class="adpop-content">
                <div class="adhtml">
                    <ins class="adsbygoogle" data-ad-client="ca-pub-xxxxxxxxxxxx" data-ad-format="auto" data-ad-slot="8671274899" data-full-width-responsive="true" style="display: block;"></ins>
                    <script>
                        (adsbygoogle = window.adsbygoogle || []).push({});
                    </script>
                </div>
            </div>
        </div>
    </div> <div class="btn-at" id="btn-at">Download</div>
    <div class="modal" id='my-modal'>
        <div class="at-pop__bg"></div>
        <div class="at-pop__inner">
            <div class="adpop-top">
                <label class="at-pop__close at-btnclose"><i class="fa fa-close" style="font-size:20px;"></i></label>
                <h2 style="margin: 0px;">Download Your file</h2>
            </div>
            <div class="download-pop">
                <a class="button" href="https://drive.google.com/file/d/1KjJTnv2_N9yVdYLJ3Hp1pVzK7Agfdvr6/view?usp=sharing" id="at-downloadx">Download File</a>
            </div>
            <div class="adpop-content">
                <div class="adhtml">
                    <ins class="adsbygoogle" data-ad-client="ca-pub-xxxxxxxxxxxx" data-ad-format="auto" data-ad-slot="8671274899" data-full-width-responsive="true" style="display: block;"></ins>
                    <script>
                        (adsbygoogle = window.adsbygoogle || []).push({});
                    </script>
                </div>
            </div>
        </div>
</div>
Step7) Now Click on Save
Congratulation you have successfully Installed the Download Timer Button in blogger in just 5 steps





![BigMediumSmall – TOKYO BACK ALLEYS [UE Version]](https://gfx-station.com/wp-content/uploads/2023/12/FtyF9Cv-300x201.webp)


