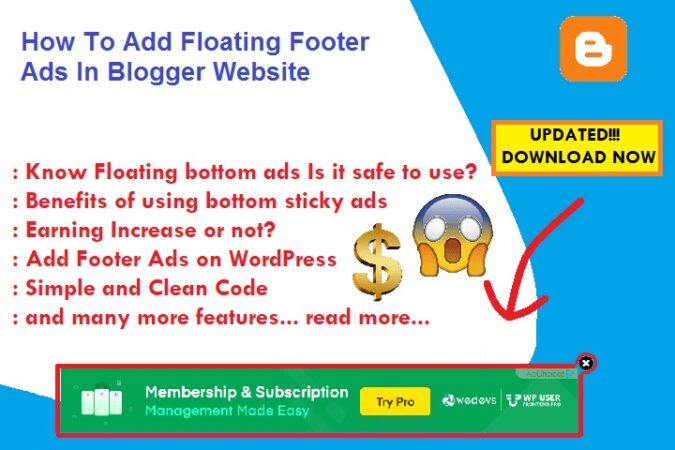
Hello Guys, Do you want to know How To Add Floating Footer Ads In Blogger Website | Floating bottom ads in Blogger code. I will tell you the easy way. With the help of which you can add sticky floating bottom ads to your website or blog. This article will be useful for you in that you can add sticky ads to your Blogger website and increase revenue in Adsense.
Benefits of using bottom sticky ads or floating bottom ads in Blogger
Adhesive(Fixed) ads are a great way to increase your Adsense revenue as they increase the overall impression, click-through rate (CTR) of your website and increase your CPM value over time.
Statistical data support the above-mentioned points. Before we discuss the guidelines for placing sticky ads in bloggers, let us understand why you should add sticky footers to your site. Up to 200% more visible than other formats with the same placement.
Here are some statistical data that proves the above point.
- 40-60 % Higher CTR: compared to normal display ads
- Improve Viewability: Up to 200% more viewable than other formats on the same placements.
- 30-70% Higher CPM: Advertisers shell out more for these ads.
Also now let us know What you Consider Before Implementation floating bottom ads or footer sticky ads?
- If you have a gaming blog, then don’t use it.
- Don’t use it on infinite post loading
- Your sticky footer Adsense, should not cover more than 30% of your computer, tablet, and mobile screen.
According to Google sticky ads shouldn’t be implemented on Gaming sites and pages with infinite scroll to provide a better user experience.
How to create Responsive Floating Bottom Sticky Ad in Blogger
Before proceeding with the below steps make sure to take a backup of your theme, so that if you do anything wrong, you can easily restore your website to its original position by uploading the backup file.
To add a bottom sticky ad on Blogger follows the below steps.
1. Open Blogger Dashboard
2. Open Layout Page
3. Add New JavaScript Widget
4. Copy complete code from below and paste
5. Add your ad code in this place (xxxxxxxxxxx)
6. That’s it – Save and Check your Post Now
<div id="popup-ad" style="position: fixed; top: 92%; left: 50%; transform: translate(-50%, -50%); width: 95%; height: auto; max-width: 720px; height: 90px; background-color: #ffffff;">
<div style="position: absolute; ">
    </div>
<!-- Ad code  -->
xxxxxxxxxxxxxxxx
<!-- زر الغلق -->
<div style="position: absolute; top: -15px; right: -15px;">
<a href="#" onclick="document.getElementById('popup-ad').style.display='none';">
<img src="https://gfx-station.com/wp-content/uploads/2023/08/close.png" alt="Close popup" width="24" height="24">
</a>
</div>
</div>




![BigMediumSmall – TOKYO BACK ALLEYS [UE Version]](https://gfx-station.com/wp-content/uploads/2023/12/FtyF9Cv-300x201.webp)
